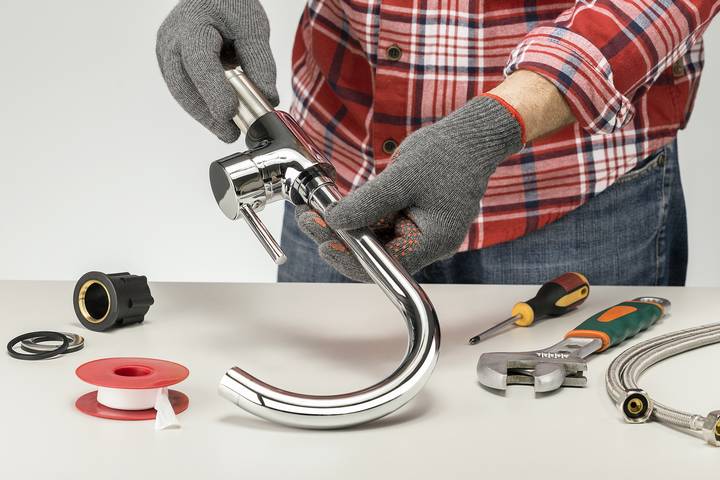
A faucet is not something you need to be an expert plumber to sort out how to fix and repair. Bathroom faucet handles can be replaced with the right tools at your disposal. It is a simple bathroom DIY project that can potentially stop dripping from the tap and improve overall aesthetics.
There are four types of faucet handles – compression washer, disc faucet, two-handle cartridge, and ball faucet. Each operates a little differently. Trying to replace one with another, unfortunately, won’t work.
Compression Washer Handles: A compression washer faucet is an older style. It has two handles that must be fully rotated to stop water from flowing.
Disc Faucet Handles: Many newer homes opt for disc faucets. These are made from ceramic and have cylindrical bodies, wide in design and a single lever on top.
Two-Handle Cartridge Faucet Handles: A two-handle cartridge faucet uses knobs. As you turn the knobs, the interior movable cartridge moves up and down. There is hot and cold water, and as the cartridge adjusts its vertical positioning, this is how the temperature is regulated.
Ball Faucet Handles: A ball faucet, impressively, has no washer. This type of faucet handle is usually in kitchens rather than bathrooms. It’s a single handle attached to a round cap right above the spout. Most homeowners with homes that have been built in the last two decades have a ball faucet in their kitchen. A metal or plastic ball is inside the faucet and controls water flow.
Are you fixing a leaky faucet or replacing an outdated bathroom faucet? A plumber is your best bet to ensure the repairs get done properly. However, you can also learn how to make the replacements yourself. Here is everything you need to know about how to replace faucet handles:
Match the hole configuration
In addition to having the right type of faucet, you need your new faucet to match the hole configuration. As you remove your old faucet, you will see three holes in your sink to accommodate the handles. These permanent holes will be what your new faucet is required to match.
Faucet finishes for a kitchen or bathroom
From an aesthetic standpoint, you also have to consider the finish of the faucet handles. For example, if you have a chrome faucet spout, you don’t necessarily want matte black faucet handles. The most common faucet finishes include brass, chrome, nickel, stainless steel, bronze, and matte black.
Tools you will need to replace a faucet
Every faucet is different, but there are some standard tools you can expect to need to remove and replace a faucet. Penetrating oil helps make the job easier. Plastic or rubber gaskets, bathroom caulk, and washers are often needed. A putty knife to scrape away old residue is helpful.
You will also need an adjustable wrench and extras like a screwdriver, faucet handle puller, and pliers. If you want to know what you need, go to the instructions on your new faucet to confirm.
How to remove your faucet handles
Turn off the water supply to the bathroom. Use an adjustable wrench to disconnect the water supply tubes. If there is a pop-up stopper with a horizontal pivot rod, this will also need to be disconnected. Next, go under the sink and remove the mounting nuts securing the faucet body to the sink.
A basin wrench and some penetrating oil might be needed for this task. The faucet should then come off quite easily. Some types of faucets and brands require more steps and additional tools.
How to remove faucet handles with no screws
With no visible screws, look for a button or cap. The screws may simply be obscured. Pop off the decorative cap using a flathead screwdriver. With the handle screw exposed, next, you will probably need an Allen wrench or Allen key. After that, the faucet will lift off.
A faucet handle puller can help with that. If you don’t have one, pair pliers with a towel between the pliers and handle to protect the finish works. If a cartridge is inside, a top piece may need to be unscrewed, and the cartridge will need to be removed.
How to install new faucet handles
There is no definitive way to install new faucet handles because designs vary slightly. Follow any instructions that come with the faucet. There may be how-to tutorials online that can be utilized as well. For your average two-handle faucet, the plastic or rubber gaskets go between the faucet assembly and the top of the sinkholes.
Make sure it’s in the proper position. Seal the edges using a thin film of bathroom caulk. Put washers on the mounting nuts, secure them with a wrench, attach the assembly’s lift rod onto the drain tailpiece, and connect the water lines and test. In essence, installing a new faucet will be backwards from how you removed your old faucet.

